Are you ready to take your gardening game to the next level? Consider building your own raised garden beds using recycled materials! Not only are DIY raised beds a sustainable choice for your garden, but they also offer numerous benefits such as improved soil drainage, better weed control, and easier access for planting and harvesting. In this blog post, we’ll provide step-by-step instructions for constructing raised garden beds using salvaged wood, bricks, or other recycled materials, allowing you to grow your own food in style and sustainability.
1. Gather Your Materials
Before you get started, gather the materials you’ll need for building your raised garden beds. Depending on the size and design of your beds, you may need salvaged wood planks, bricks, cinder blocks, or other recycled materials. Be sure to choose materials that are sturdy, durable, and untreated to avoid potential chemical exposure to your plants.
2. Choose Your Location
Select a sunny location for your raised garden beds, ideally with at least 6-8 hours of direct sunlight per day. Ensure the area is level and well-drained to prevent waterlogging, which can lead to root rot and other problems. Consider factors such as proximity to water sources, accessibility, and aesthetics when choosing the location for your beds.
3. Measure and Plan Your Beds
Once you’ve chosen your location, measure and plan the dimensions of your raised garden beds. Consider factors such as the size and shape of your garden space, the types of plants you’ll be growing, and any existing landscape features. Keep in mind that raised beds are typically 6-12 inches tall, although you can adjust the height to suit your needs and preferences.
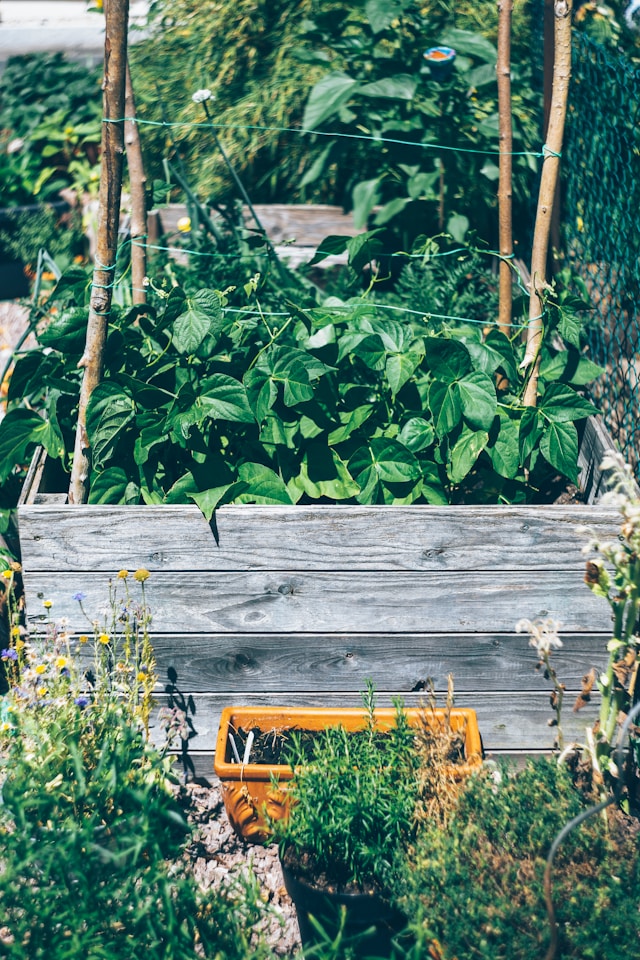
4. Build the Frame
Using your salvaged wood planks, bricks, or other recycled materials, begin building the frame for your raised garden beds. If using wood, stack the planks to create the desired height and shape, securing them together with screws or nails. If using bricks or cinder blocks, arrange them in a rectangle or square shape, stacking them to the desired height.
5. Fill with Soil
Once the frame is built, fill your raised garden beds with a high-quality soil mix that’s well-draining and nutrient-rich. You can use a combination of topsoil, compost, and other organic amendments to create the ideal growing environment for your plants. Be sure to fill the beds to the top, allowing for settling over time.
6. Plant Your Garden
With your raised garden beds built and filled, it’s time to plant your garden! Choose a variety of vegetables, herbs, flowers, or other plants that thrive in your climate and growing conditions. Be sure to space plants according to their mature size and water them thoroughly after planting to help them establish roots.
7. Maintain and Enjoy
Once your garden is planted, be sure to water, weed, and fertilize as needed to keep your plants healthy and thriving. Monitor soil moisture levels and adjust watering frequency as necessary, and be sure to harvest your crops regularly to enjoy the fruits of your labor!
DIY raised garden beds offer a sustainable and stylish solution for growing your own food at home. By using recycled materials such as salvaged wood, bricks, or cinder blocks, you can create beautiful and functional garden beds that benefit both your plants and the planet. Whether you’re a seasoned gardener or new to the world of gardening, building raised beds is a rewarding and environmentally friendly way to cultivate your own food and flowers.