Ah, the bounty of summer! There’s nothing quite like the taste of freshly picked fruits and vegetables, bursting with flavor and nutrients. But what if you could enjoy that taste all year round? Enter the art of canning—a time-honored technique for preserving the harvest and savoring the flavors of summer long after the season has passed. In this post, we’ll explore the ins and outs of canning, from selecting the best produce to mastering the canning process. Get ready to stock your pantry with delicious homemade preserves and enjoy the taste of summer any time of year!
Selecting the Best Produce
The key to successful canning begins with selecting the freshest, highest quality produce available. Whether you’re harvesting from your own garden, visiting a local farmers’ market, or sourcing from a trusted supplier, choose fruits and vegetables at the peak of ripeness for the best flavor and texture. Look for firm, blemish-free produce free from signs of decay or spoilage. Remember, the quality of your ingredients will greatly impact the quality of your canned goods.
Preparing for Canning
Before diving into the canning process, it’s essential to gather the necessary equipment and prepare your workspace. You’ll need canning jars, lids, and bands, as well as a large stockpot or canner, a canning rack, a jar lifter, and basic kitchen utensils like a ladle, funnel, and spatula. Make sure your equipment is clean and in good condition to ensure safe and successful canning. Set up a dedicated workspace with plenty of counter space and access to hot water for sterilizing jars and lids.
The Canning Process: Step-by-Step Guide
1. Sterilize Jars and Lids: Wash canning jars, lids, and bands in hot, soapy water and rinse thoroughly. Place jars in a large stockpot or canner, cover with water, and bring to a boil. Boil for 10 minutes to sterilize. In a separate saucepan, simmer lids to soften the sealing compound.
2. Prepare Your Recipe: Choose your favorite canning recipe, whether it’s classic strawberry jam, tangy pickles, or savory tomato sauce. Follow the recipe instructions for preparing your ingredients and cooking the mixture to the desired consistency.
3. Fill Jars with Hot Product: Using a jar lifter, remove sterilized jars from the canner and place them on a clean towel. Fill jars with hot product, leaving the specified headspace as indicated in your recipe. Use a bubble remover or plastic spatula to release any air bubbles and ensure proper filling.
4. Apply Lids and Bands: Wipe the jar rims with a clean, damp cloth to remove any food residue. Center lids on jars and apply bands fingertip-tight. Do not overtighten, as this can interfere with the sealing process.
5. Process Jars in Boiling Water Bath: Return filled jars to the canner, ensuring they are fully submerged in boiling water. Process jars for the specified time as indicated in your recipe, adjusting for altitude if necessary. Once processing is complete, carefully remove jars from the canner and place them on a clean towel to cool.
6. Check Seals and Store: After jars have cooled completely, check seals by pressing down on the center of each lid. Sealed lids should be firm and concave. Any unsealed jars should be refrigerated and used promptly. Label sealed jars with contents and date before storing in a cool, dark place for long-term storage.
Enjoying Your Canned Creations
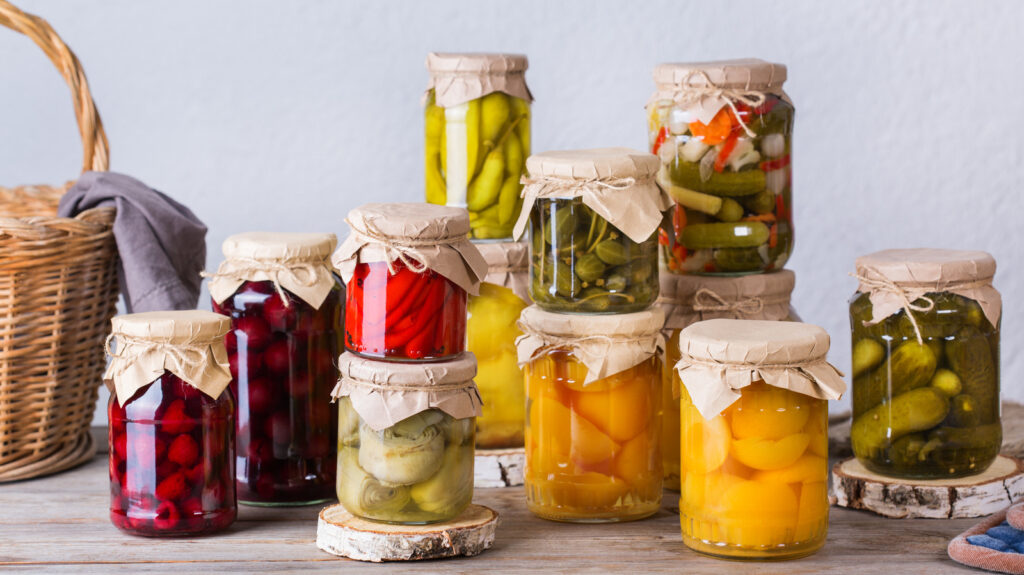
Once your jars are safely sealed and stored, it’s time to enjoy the fruits of your labor! Whether you’re spreading homemade jam on toast, adding pickled veggies to sandwiches, or simmering sauces into hearty stews, your canned creations are sure to add a taste of summer to every meal. Experiment with different recipes, flavors, and preservation techniques to create a pantry stocked with homemade goodness for year-round enjoyment.
In conclusion, the art of canning is a rewarding and practical skill that allows you to preserve the flavors of summer and enjoy them throughout the year. With a little time, effort, and attention to detail, you can fill your pantry with delicious homemade preserves and savor the taste of summer no matter the season.